A kitchen remodel is mostly decided before the first cabinet comes out, and that’s exactly why kitchen remodel 3D rendering belongs at the start of the project. The layout, cabinet sizes, island, counters and lighting plan all get ordered weeks ahead. Once they’re installed, changing your mind gets expensive.
In practice, that means a few photoreal images of your actual kitchen, built to your real dimensions. They let you check the decisions that are hardest to picture from a plan, while changing them still costs nothing.
What kitchen remodel 3D rendering shows that a plan can’t
A floor plan shows where things go. It doesn’t show what it feels like to stand at the sink with the dishwasher open, or how a dark cabinet reads next to your floor on a gray December afternoon.
Kitchens pack more fixed decisions into less space than any other room: cabinets, appliances, plumbing, counters, backsplash, hardware and lighting, all fitted to the inch. And in a lot of homes I see in Northern Virginia, a remodel also means opening the kitchen to the family room, so the new kitchen has to look right from the sofa, too.
A render answers those questions in pictures instead of guesses. You see the room from where you’ll actually stand, with your materials and your light.
Layout first: aisles, the island and appliance doors
Start with how you move, not with finishes. In a 3D model you can check the clearances that make a kitchen comfortable to work in:
- Work aisles. The National Kitchen & Bath Association recommends about 42 inches between counters for one cook and about 48 inches for two. Any less and two people can’t pass with the oven open.
- Walkways. Paths that aren’t work zones need roughly 36 inches.
- The island. It has to leave those clearances on every side you use. A beautiful nine-foot island that squeezes the main aisle becomes a daily annoyance.
- Seating. Plan about 24 inches of width per stool and 12 to 15 inches of knee space under the overhang.
- Doors. Dishwasher, oven and fridge doors all open into the aisle. Show them open in the model and the conflicts jump out right away.
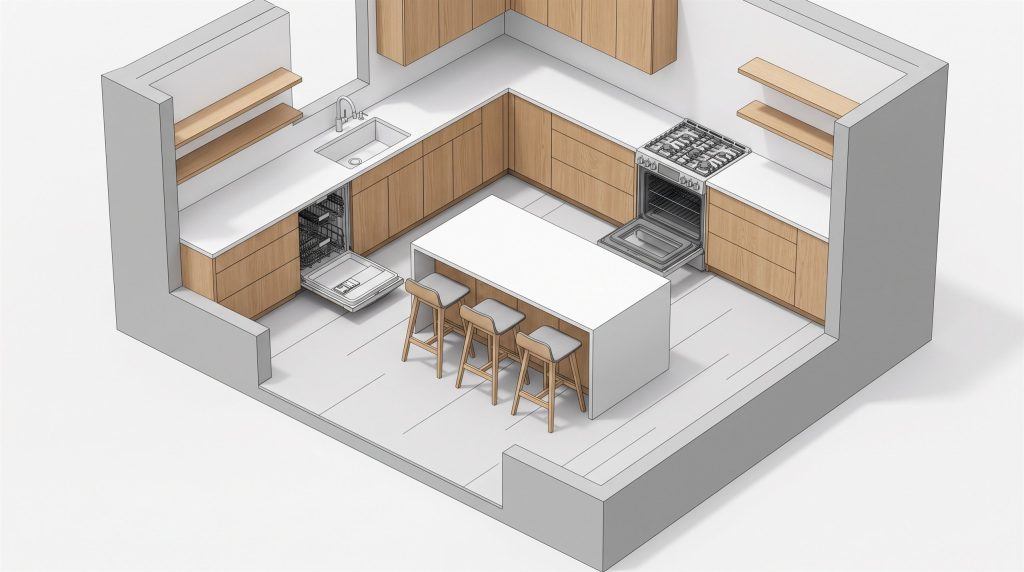
If the plan involves removing or moving a wall, a render can show you whether the opening is worth it. It can’t, however, tell you whether the wall is structural. That’s a question for a licensed engineer, and the work will need a permit from your county.
Testing cabinet colors in a 3D rendering of your kitchen remodel
Cabinet color is where most people second-guess themselves, and for good reason: cabinets are the largest colored surface in the room. However, a sample door in a showroom tells you very little about a whole wall of it next to your floor, under your windows.
In the model, materials carry their real color, roughness and reflection, and the sun is placed for your kitchen’s actual orientation. That makes side-by-side comparisons genuinely useful: white vs. deep green cabinets, a honed vs. polished counter, matte black vs. brushed brass hardware, all in the same room and the same light.
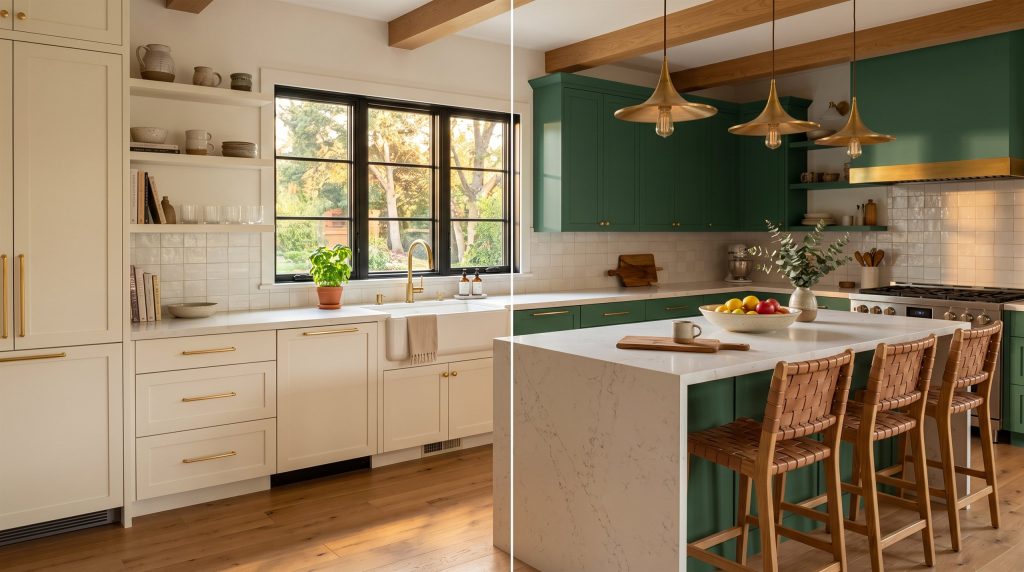
A few things I always check:
- The floor. Cabinets and flooring are the two biggest fixed surfaces. They need either clear contrast or deliberate similarity, never something in between that looks like a near-miss.
- Undertones. A warm white next to a cool gray quartz can look dirty. Undertone clashes show up immediately in a render.
- The backsplash. A busy stone slab and a patterned tile rarely belong in the same kitchen. Pick one to be the star.
- Sheen. Glossy cabinets and polished counters reflect windows and fixtures. Matte finishes read softer and slightly lighter.
I wrote more about how color, light and texture work together in choosing interior colors. The honest limit: screens aren’t calibrated, so final picks should still be confirmed with physical samples in the room. The render narrows ten options down to two, and the samples choose the winner.
Light the kitchen in layers
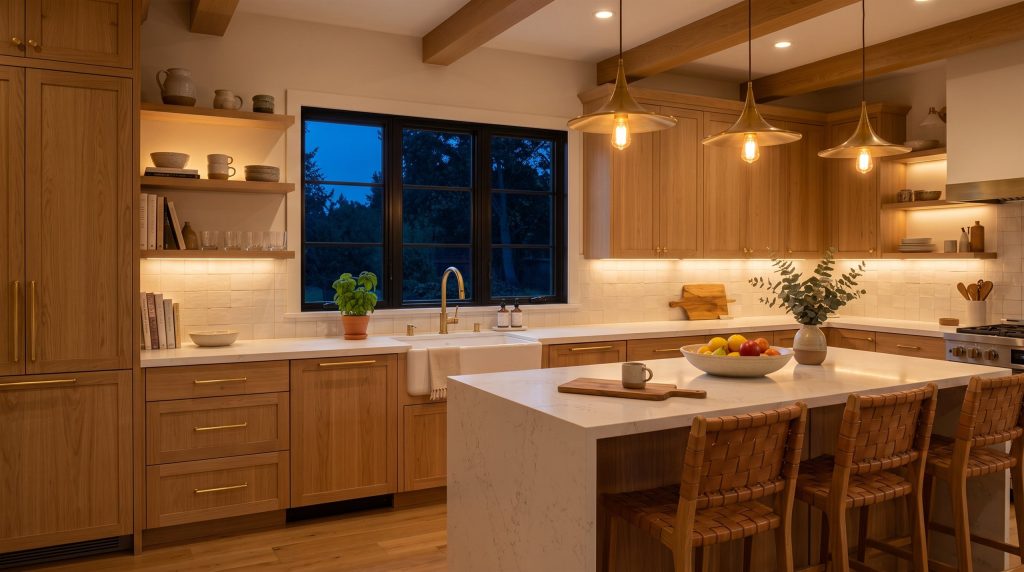
Kitchen lighting is often an afterthought, and it shows at six in the evening. That’s why a good kitchen has three layers:
- Ambient. Recessed or ceiling lights for general light, on a dimmer.
- Task. Under-cabinet lights over every work surface, so you’re never chopping in your own shadow.
- Accent. Pendants over the island, lights inside glass-front cabinets, a sconce over open shelves.
Keep one color temperature for the whole kitchen, usually 2700K to 3000K for a warm, residential feel, and choose fixtures with a CRI of 90 or more so food, wood and skin look natural. Also, pendants usually hang with their bottoms about 30 to 36 inches above the island, and a render shows whether they block the view to the family room.
What to send to get started
You don’t need finished drawings to start. PDF, DWG, SKP and image files all work:
- Measurements or plans of the kitchen, including windows, doors and the ceiling height.
- Photos of the current kitchen and the rooms it opens to.
- Your wish list. Island or no island, the appliances you’ve chosen, what you need to store.
- Materials you’re considering, with product names or photos if you have them.
- Two or three reference kitchens you like.
After that, I build the kitchen in 3D, send first drafts, usually within a week, and we adjust the layout, materials and lighting until it looks right. Renders usually cost $250 to $350 each, and two or three well-chosen views are often enough for a kitchen. I explain what moves that number in how much 3D rendering costs. There’s more on how projects run on the services page.
A quick checklist before demo day
- Aisles of about 42 inches for one cook and 48 for two, checked with every door open.
- Island seating with room for knees and stools.
- Cabinet, counter and floor colors judged together, in your real light.
- One color temperature, three layers of light, CRI 90 or more.
- Any wall removal checked by a licensed engineer and permitted.
If you’re planning a kitchen remodel, I can build a 3D rendering of it so you can compare options before you order anything. Get in touch for a free estimate.